Blogger, a product for everyone, can use it easily. Blogger host by Google. It can be accessed through the subdomain blogspot(dot)com. You can create blog website for free here. and start making money by absence or affiliate with others digital or physical products.
You can create your blog totally for free using the subdomain of Blogspot or if you want then you can add your own domain also.
Blogger also has an awesome tool to create your unique blog for any nich. It has so many free themes for free users. Even if you don’t like them you can easily change or customize them.
Wait! you don’t like those yet?
Here is more way to get a new theme. You can just upload more free themes from other websites that are providing free blogger themes. It takes no money or time, you can say this it’s one-click customization.
Well, let’s create blog website for free with Blogger. Step by step:
Step-01: Sign up to Blogger.com.
To create blog website for free,
At first search for Blogger on the google search engine, click on the first link, and dig into it. Or just click here (Blogger.com)
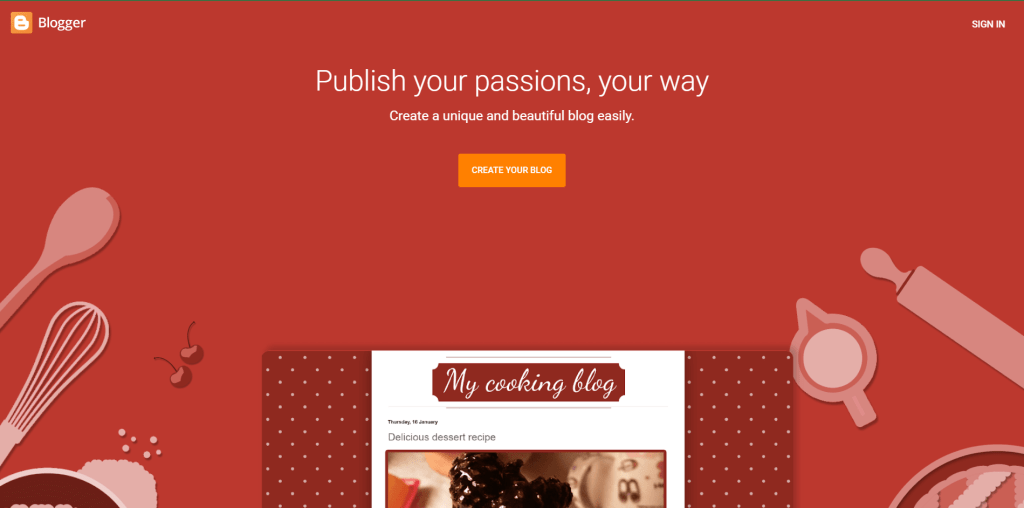
Now click on create your blog. It will take you to this page to select your Gmail, so you can access your account with google. And sign up with your Google account.
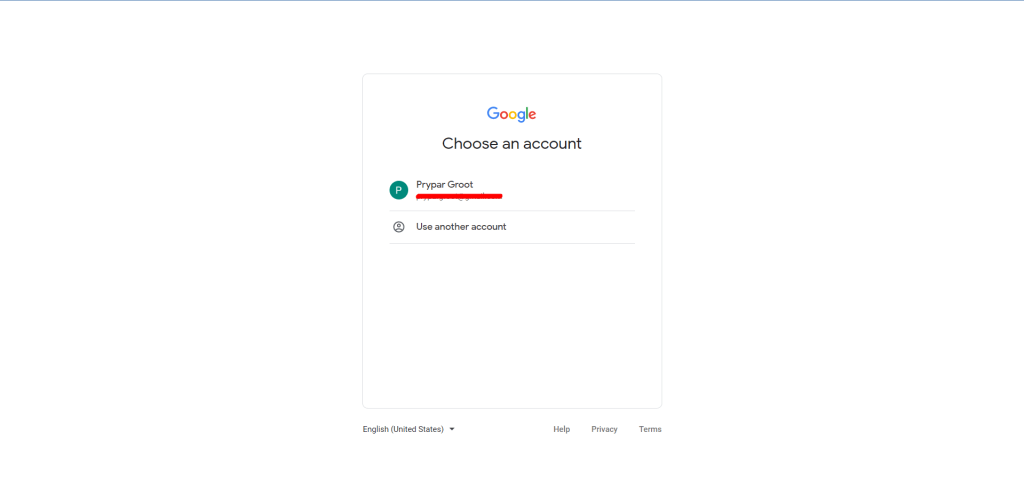
Now sign in with your password. And start setting up your blog by choosing the name of your blog.
Step-02: Set up your blog website.
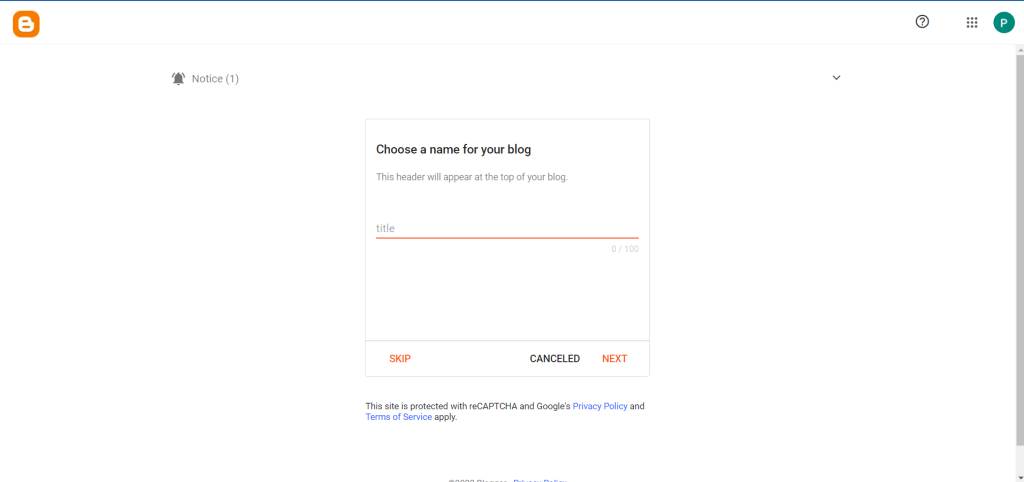
Like we are giving the name of your blog “Marketing Purse”. By the way, if you didn’t find your blog name yet. You can get so many ideas for your blog name with name-generator tools. So many business name generators out there you can use.
One of them is the BNG Business name generator. It’s an awesome tool you can use for free to get ideas.
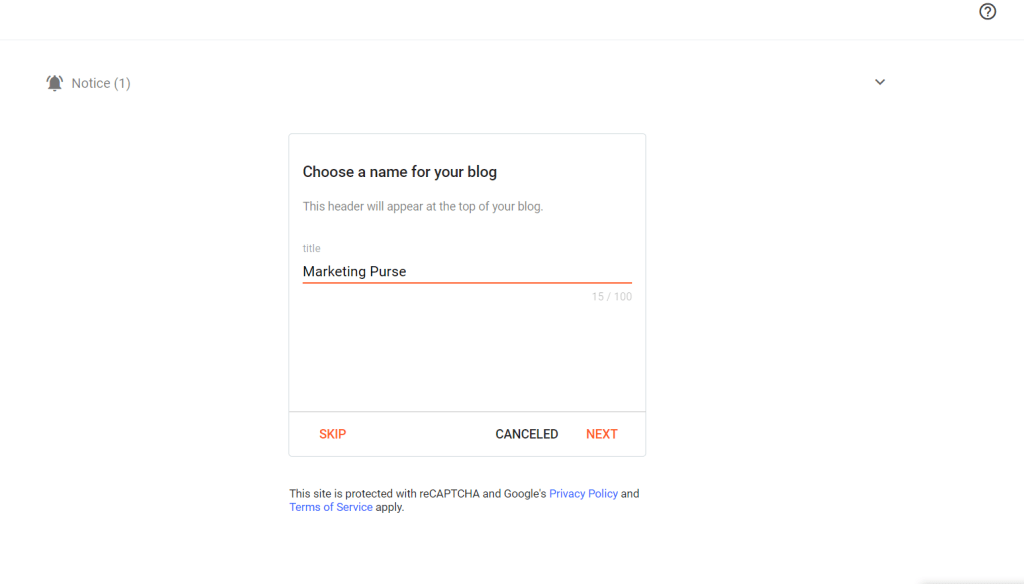
Click next.
Now here comes the most important part. Domain or subdomain, you want to use, enter it. Your domain will be the URL of your site. So make sure it must be clean and good.
But make sure your site name and domain name should connect to each other. Like we used here the name “Marketing Purse” and in the domain, we used marketingpurse (dot) blogspot (dot) com.
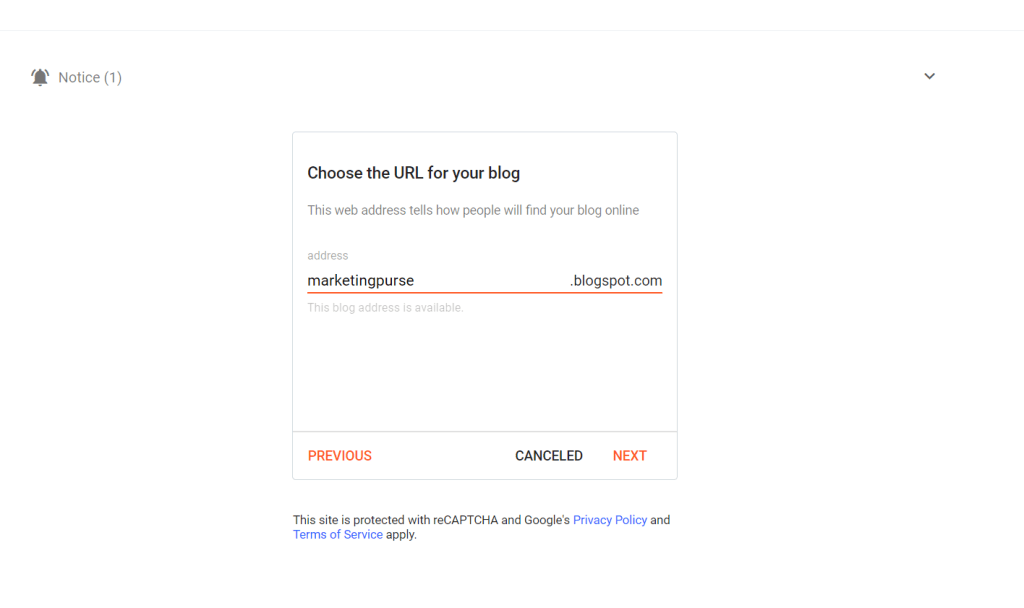
Now click on Next!
Now give the display name on-site. In our case, we are using “Marketing Purse”. You will use the same name you gave to your site. Or want to give the name of your site.
But keep in mind it will be shown to the readers. So in our point of view, it should be the same name as the site name we used in the first step.
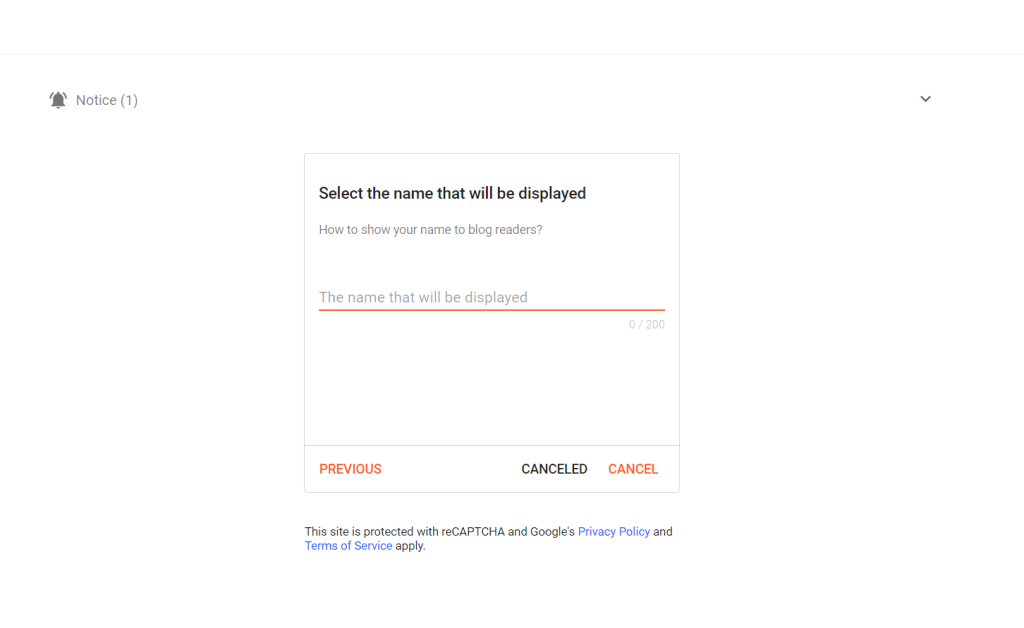
Click Next!
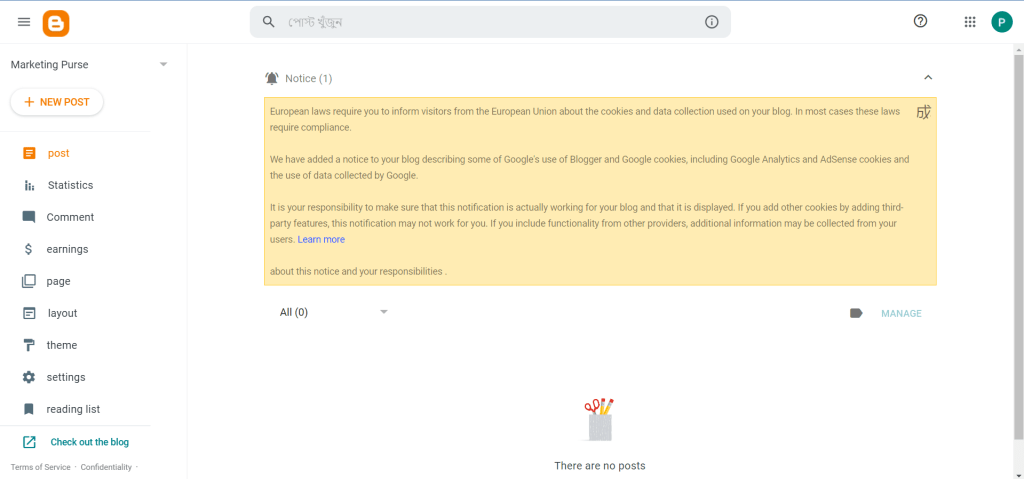
It will take you to this page.
And done! Your free blog creation is almost complete. Now you can post!
Wait! what? Is that all?
No! just kidding.
But in actuality, you can just post by clicking on New post. And, now give the title of your post and start writing your post. After you complete your post just Click on Publish this will ask for an action complete action.
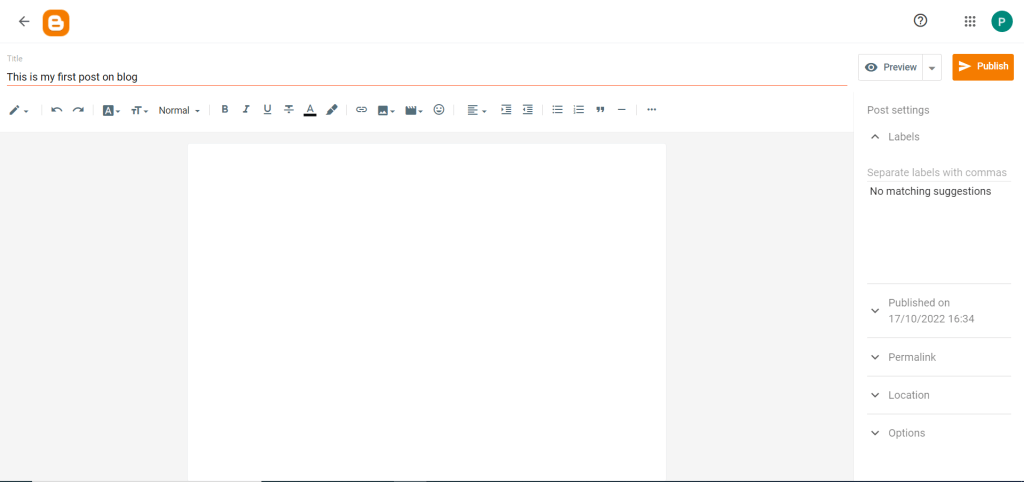
And this post will appear on your site. And yes your site is visible to your readers. Like this.
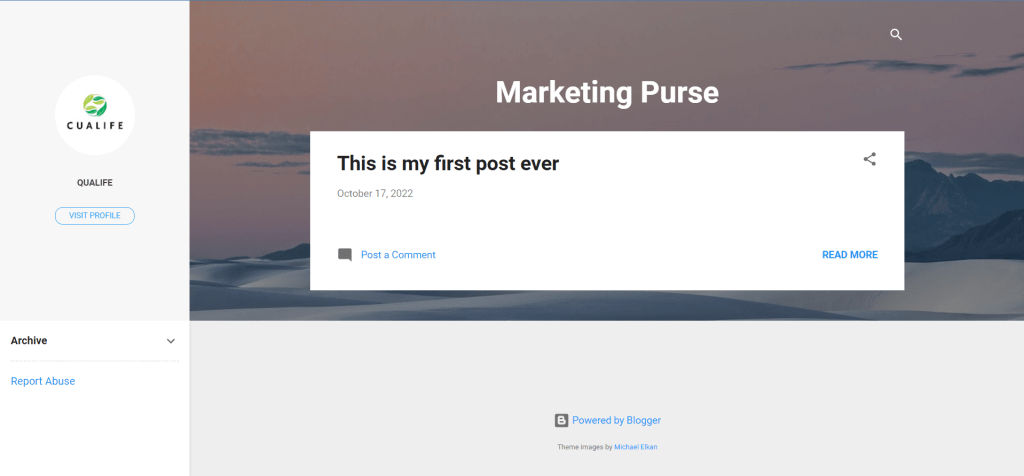
But obviously, we are not gonna just post on this and show this blog. We will set up some free professional themes so this blog looks professional.
Step-03: Download the free theme.
Let me show you a demo of an awesome blogger theme.
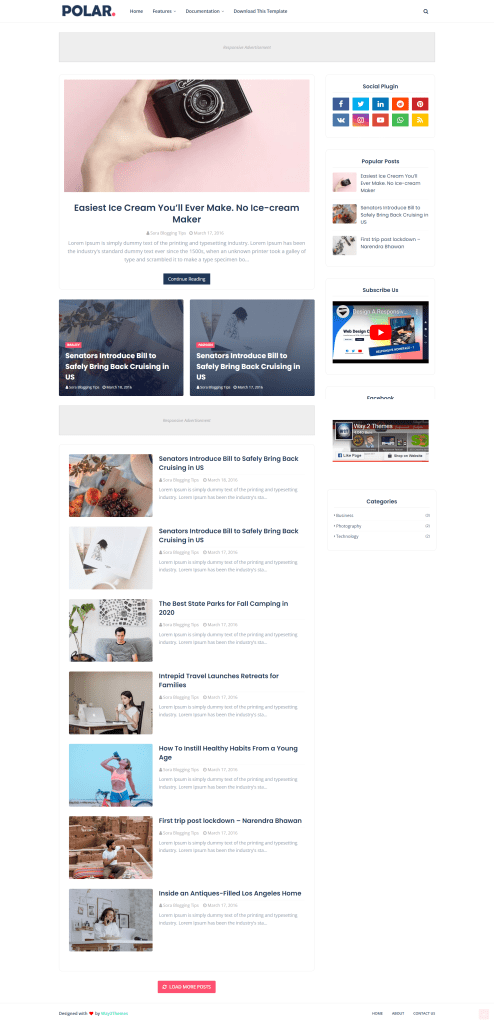
Do you like it? Then let’s go and do it.
As we are creating a blog site for free then obviously we need a free template to use. So where you can find Polar Theme for free?
Way2themes, is one of the best websites to get a blogger theme. They allow you to use there theme for free on your website. So let’s go to the page Polar theme by clicking here. This link will take you to the page where you can download it. the page will look like this:
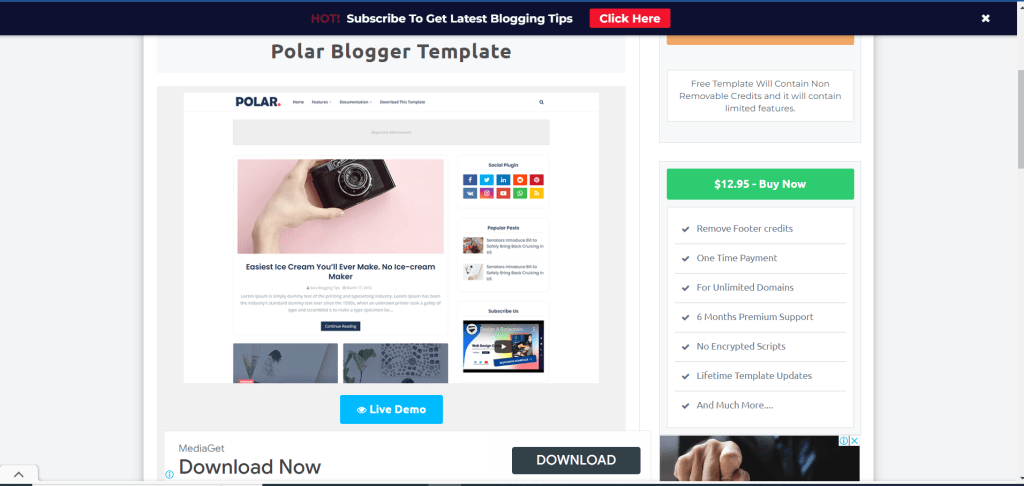
To Download the file Click on Free download.
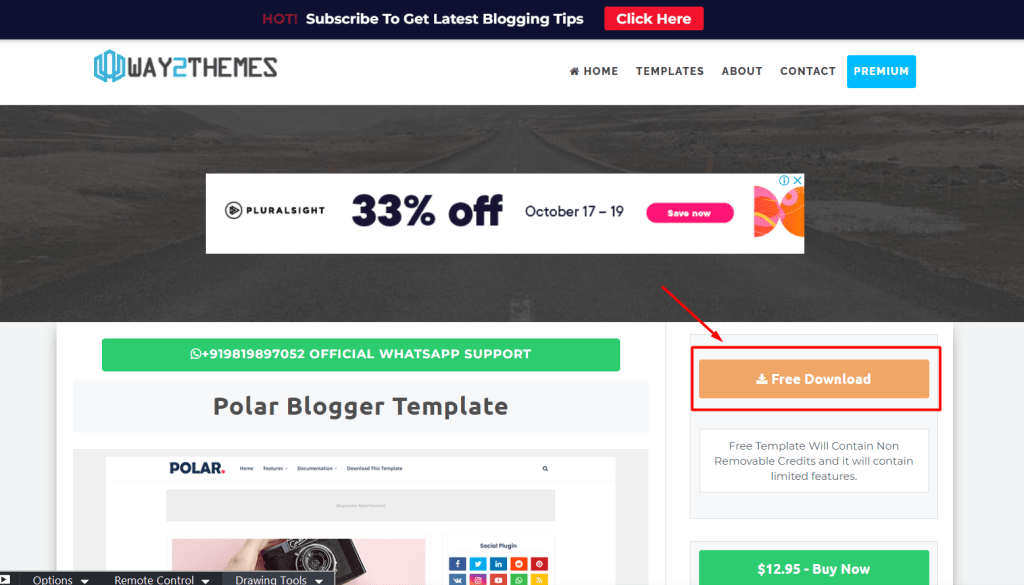
It will download your .zip file automatically.
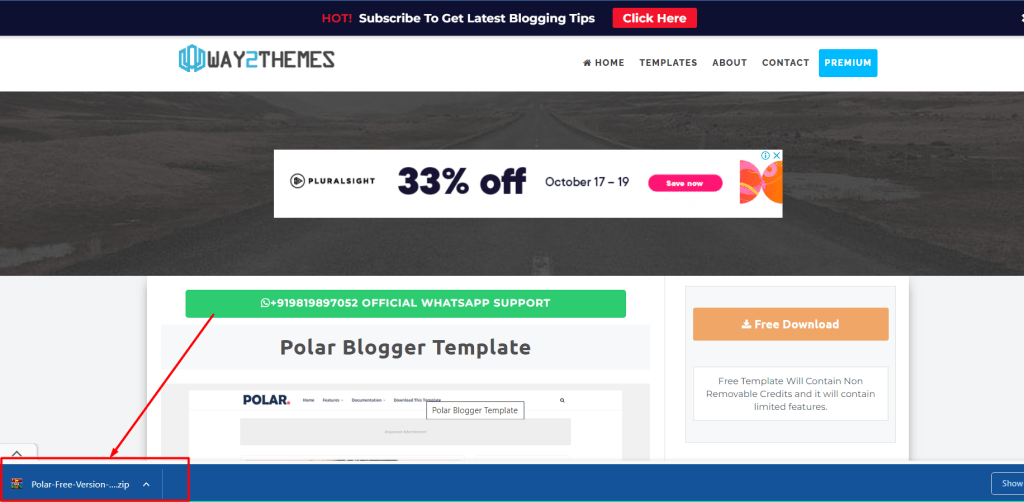
Go to your PC where your file has been stored after download.
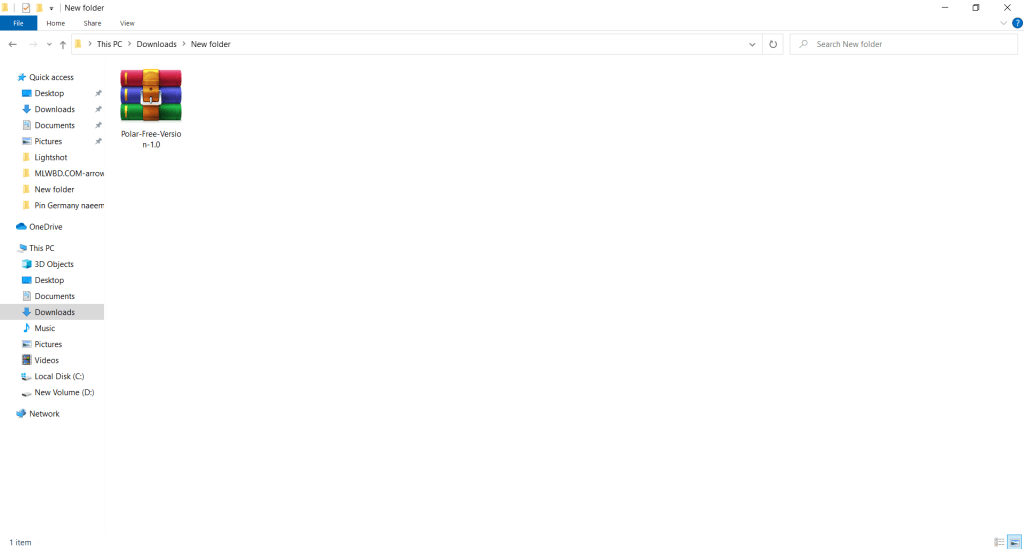
Extract zip file


Well, we have successfully downloaded and extracted our file. And now it’s ready to upload. As we can see in the photo above, there is an XML file name “Polar free version 1.0” with a file extension of the XML Document. So we need that file to upload on our blog. Let’s start our journey of “Create blog website for free“. And make money online from it.
Step-04: Upload the free theme on your blog.
So to upload that file we have to go to our blogger site and click on the Theme option.
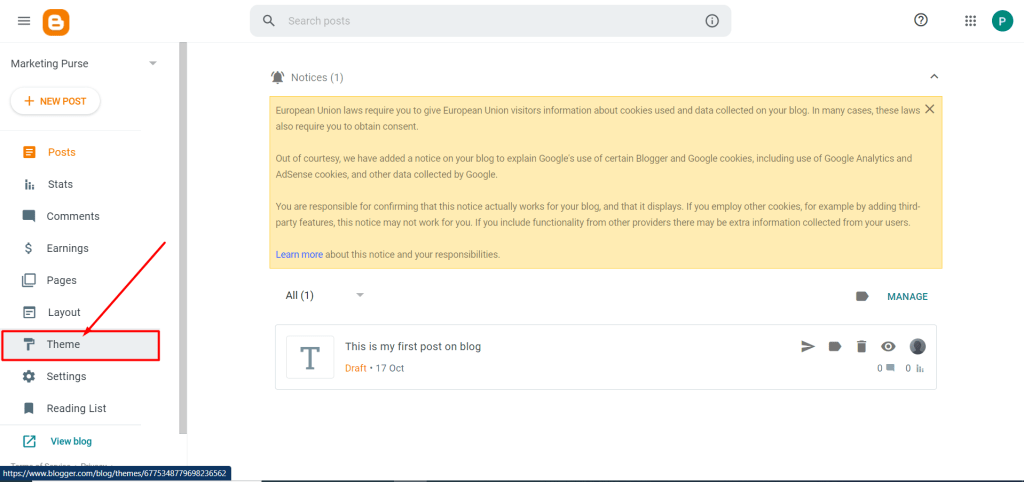
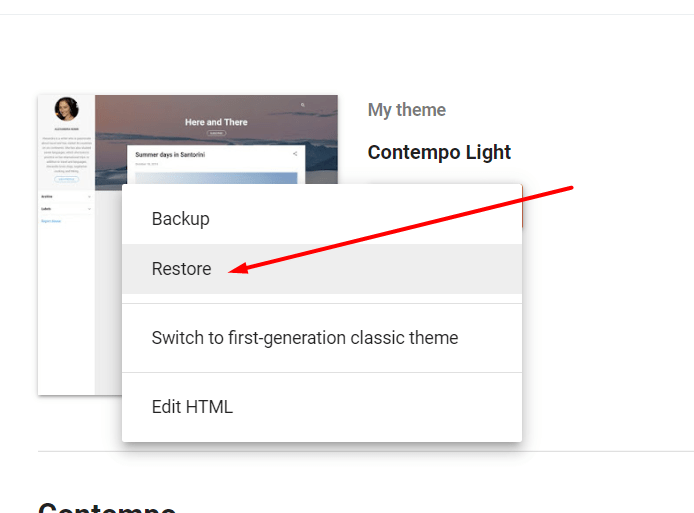
Click on Customise option.
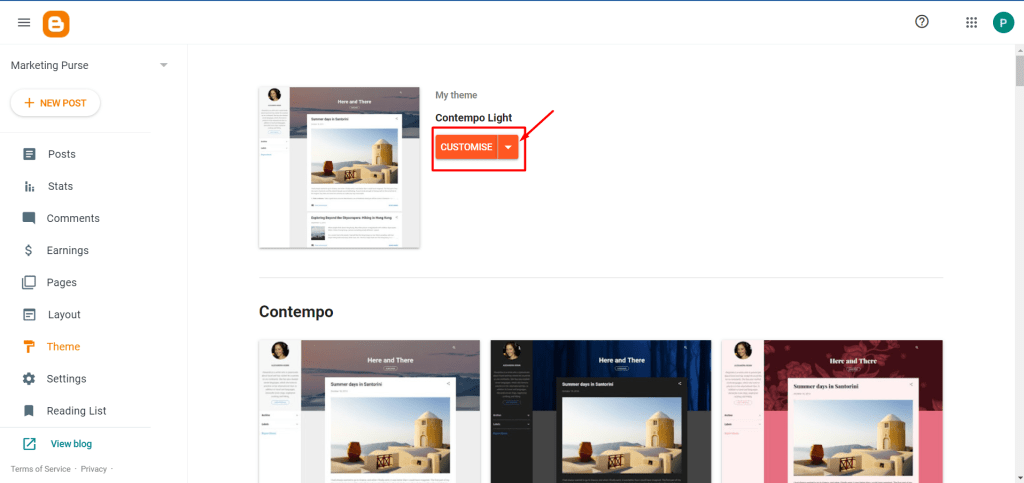
Click on the Restore option.
Click on the Upload option.
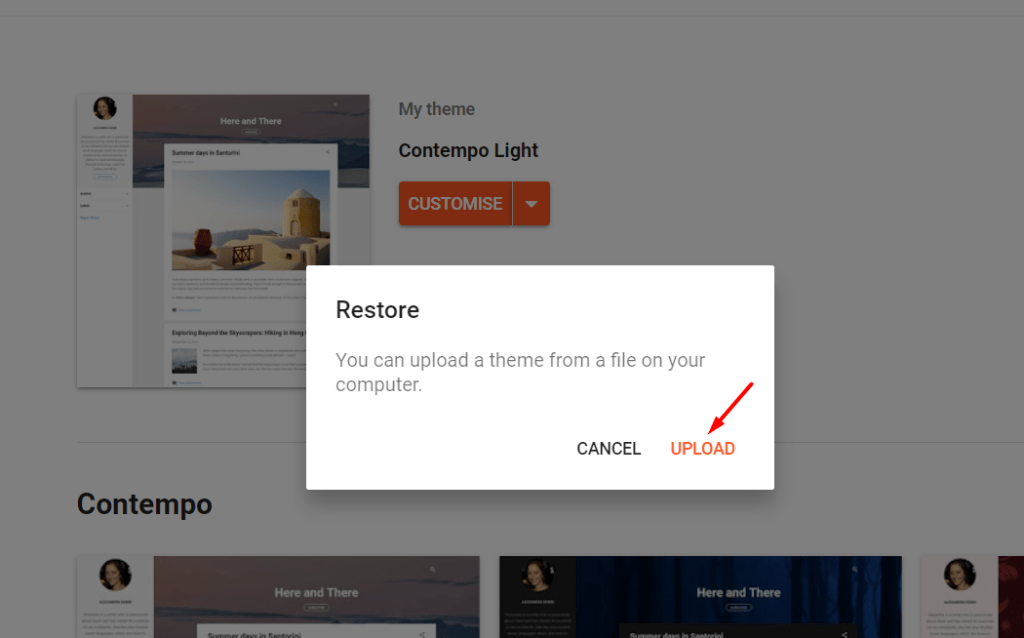
It will take you to your PC. Now find the folder where we stored our downloaded files and extracted them. And upload the file we needed to be named “Polar free version 1.0” with a file extension of the XML Document.

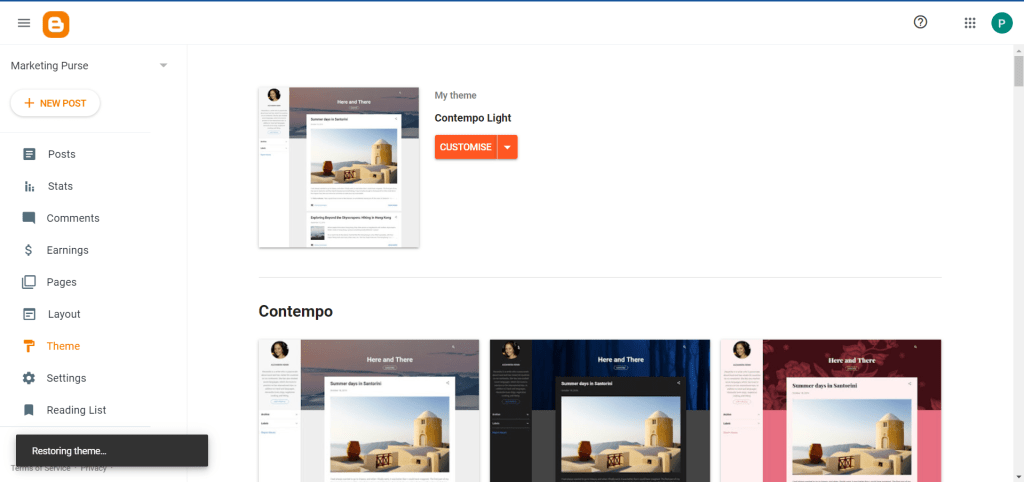
And it will take a few seconds to restore like this:
Ok! All set. Let’s look into our site and how it actually looks like. To see click on view blog at the bottom
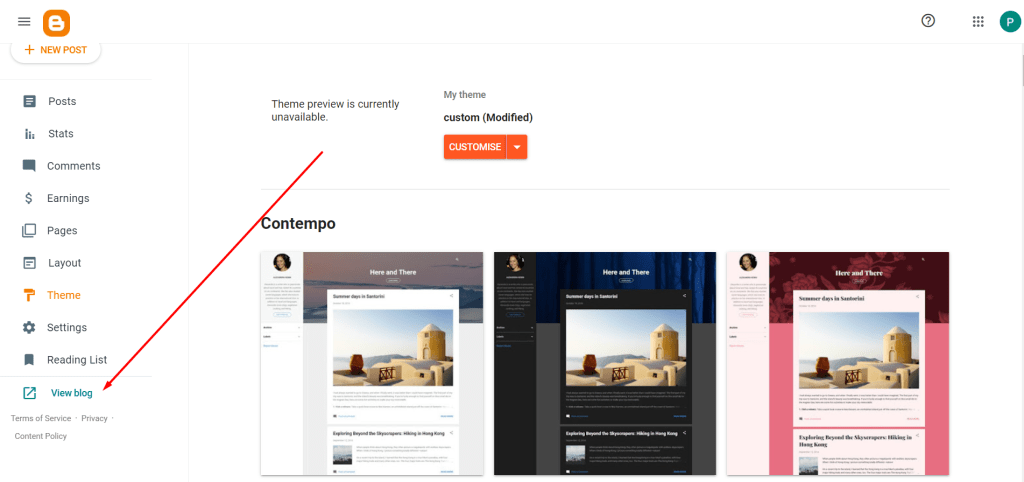
So our blog is now ready. you can view the blog I just created from this link here. Or in image, our blog will look like something of this type.
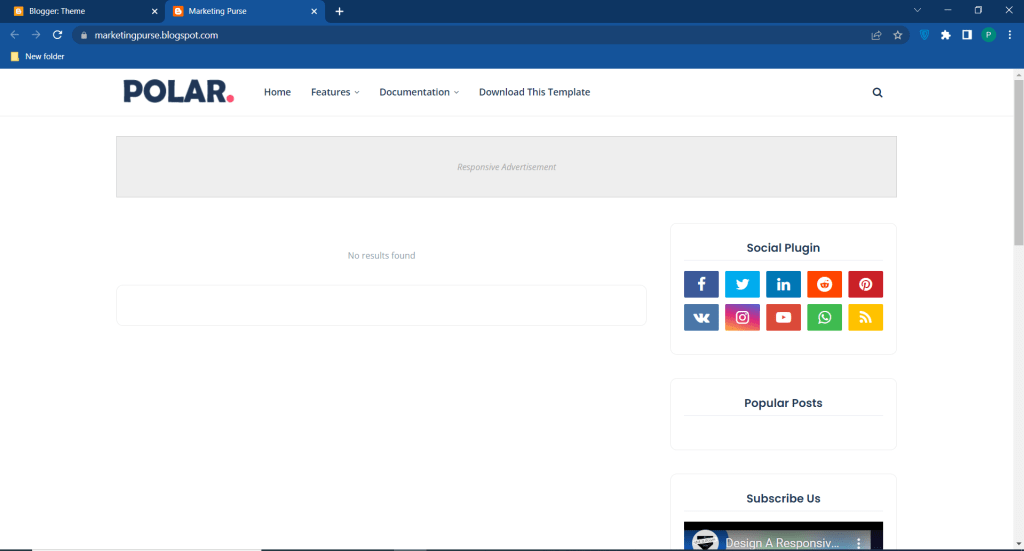
Then we need some more settings to do. Like Logo installation, the Default settings, Responsive for mobile users, Blog feed settings, and the Embedding Comment section.
So let’s see how to install the logo. And do it instantly.
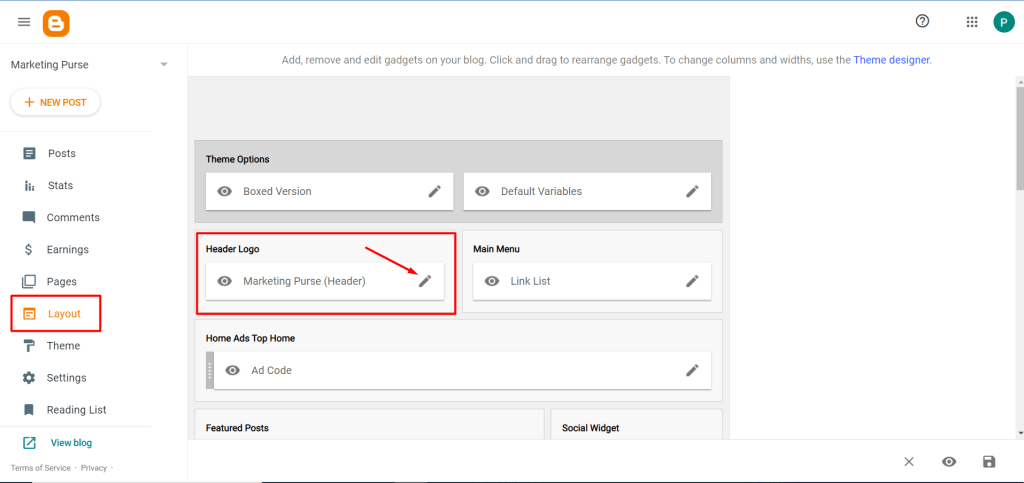
The first step, go to the layout option and click on the pencil icon on the Header logo section of the layout.
- Now click on Upload Image from computer.
If your do not have logo you can just create one using Canva
- And then click on Choose file.
- Then it will take you to your Pc.
- Now Find the folder you stored.
- Then Select the logo you want to upload
- Click on Upload.


And that’s it, refresh your website it will show you the changes we made.
Now we have some Defulte settings to set up our blog. At first we will do responsive our blog for mobile views. And we are gonna do this without image support. Because I think now you know where are all settings and where to go.
So to de that lets follow these step below:
- Go to Theme section.
- Click on Customise Option.
- Select Mobile Settings. Here you will get two option, Mobile and Desktop.
- We will go for Desktop option.
- Click save
Now it’s time to setup our blog feed. And to that we will follow steps below.
- From Blogger Dashboard Click on the Setting section.
- Click on Description. Write something about your niche or blog. The Description must be below 500 Characters.
- Next Select Language of your site.
- Add Google Analytics property ID from your Google Analytics account. Full Video Here.
- Make sure Visible to search engines is on.
- Scrol down and find Meta tags Option, Make sure Enable search description is on. Now click on Search description and write Meta tags. And here you will be able to use 150 Characters to write. And save it.
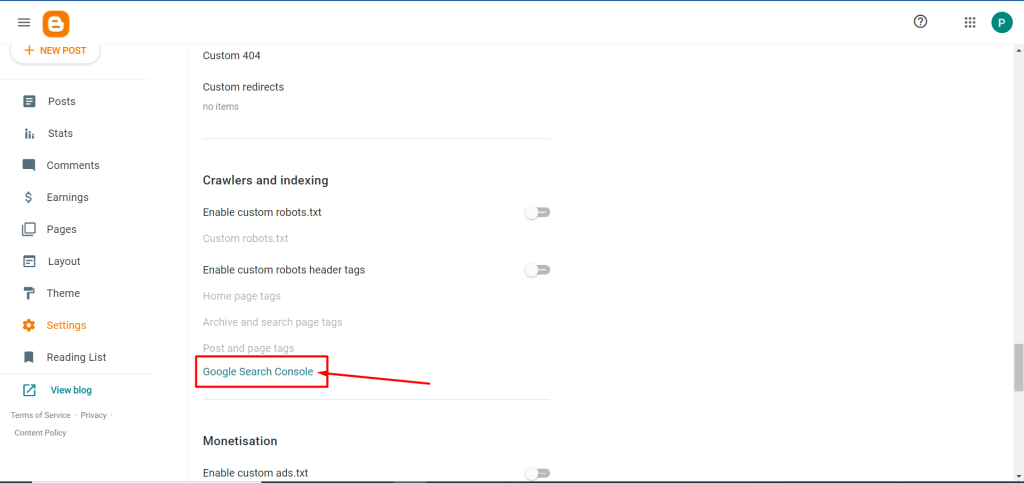
- Next Find Google Search Console. Click on that, and follow all step and complete like this
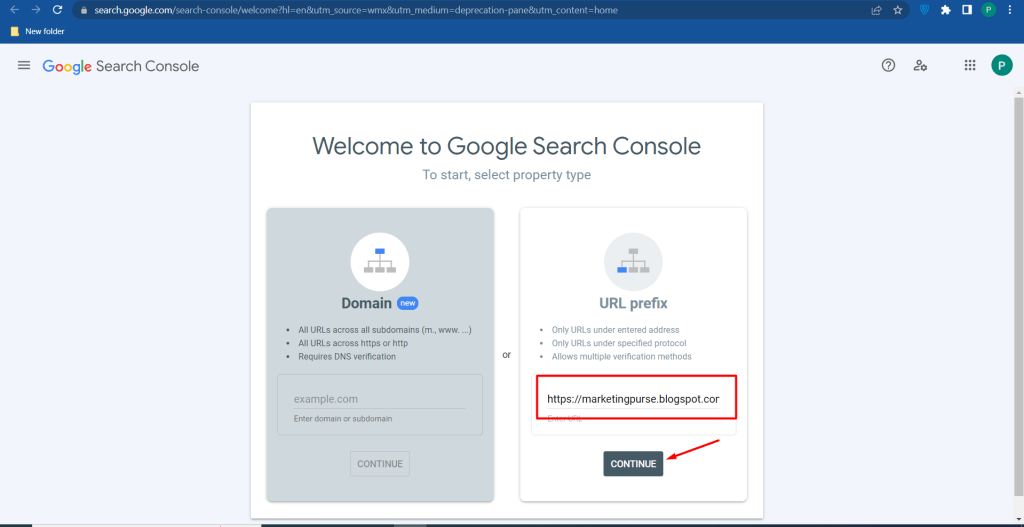
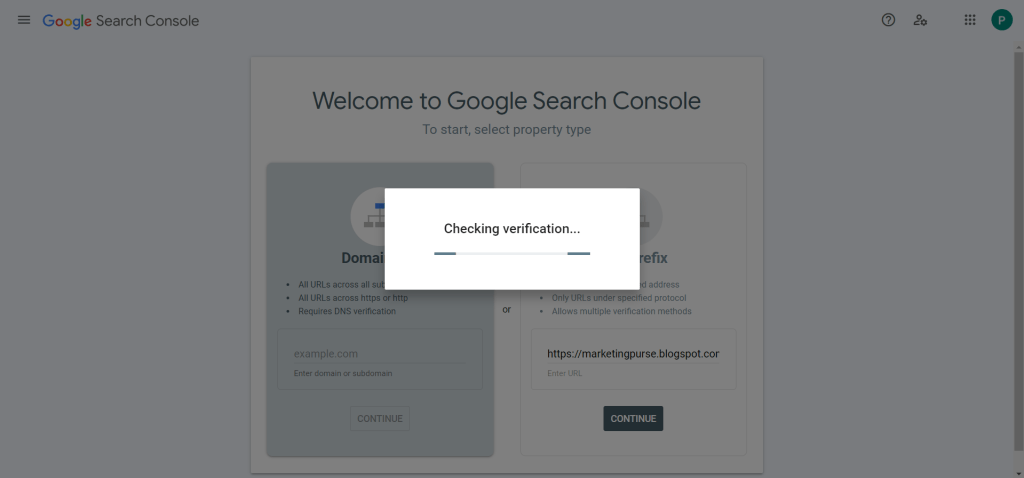
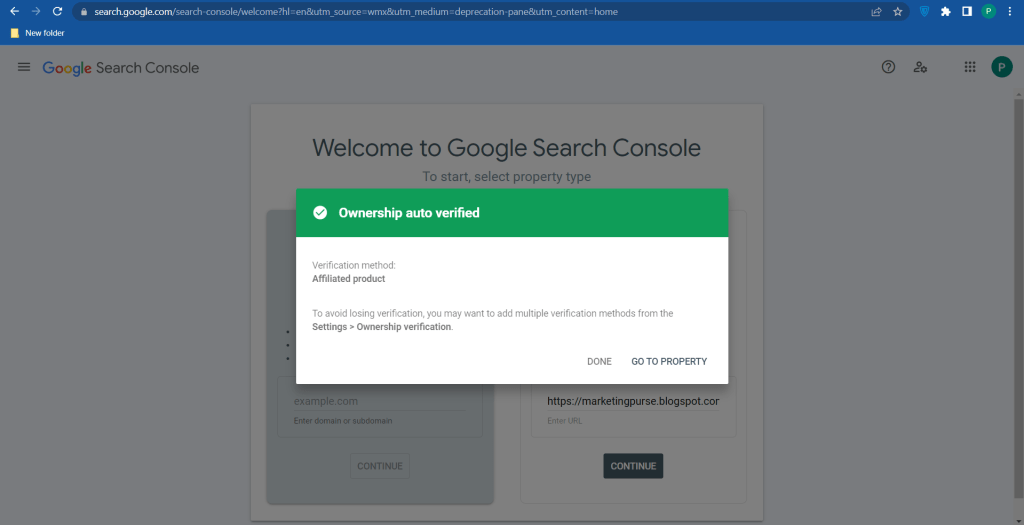
So finally your site is visible to the search engine of google. Now you can just post your content on your blog and start making money through google google adsense, or affiliate marketing.
But here your will need few more thing to know how to marketing. Like social media marketing, Facebook, Pinterest, Twitter, Quora, Youtube etc.
Wel you can know few more about marketing from here also. So if your want to read more:
